
Picking the wrong label size is one of the most common and most frustrating mistakes brands make. You design something beautiful, place the order, and then the labels arrive too big, too small, or wrinkled around the curve of your bottle. Let’s make sure that never happens to you.
This guide breaks down custom label dimensions in plain language, so you can measure your packaging correctly, set up your artwork the right way, and order with total confidence the first time.
What “Custom Label Packaging Dimensions” Really Means
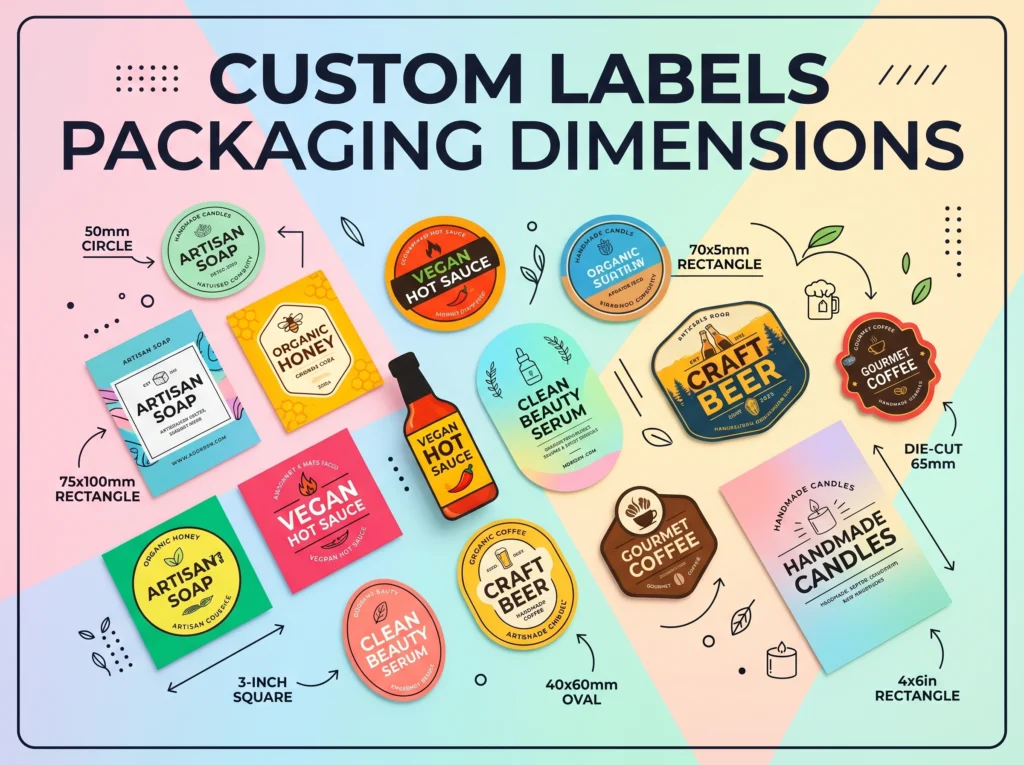
In simple terms, label dimensions are the width and height of your printed label, usually measured in inches or millimeters. A custom label means you choose the exact size, shape, and material instead of settling for a preset option.
Your packaging dimensions the size and shape of your bottle, jar, box, or pouch decide what label size will actually look good and stay put. The two work together. Your label has to match the surface area, the curve, and the shape of your container.
Getting this right affects your brand presentation, your shelf appeal, and even how easy your product is to read and use.
Why Label Dimensions Matter More Than You Think
A label that fits well does three big jobs:
- It looks professional. Clean margins and balanced spacing signal quality.
- It stays on. The right size won’t peel, bubble, or wrinkle on curved surfaces.
- It communicates clearly. Your logo, ingredients, and instructions all have room to breathe.
A label that’s even a little off can make a premium product look cheap. Size is not a small detail it’s part of your first impression.
How to Measure Your Packaging for the Right Label Size
You don’t need fancy tools. A ruler or measuring tape and a few minutes will do.
For bottles and jars (round containers):
- Measure the circumference (wrap the tape all the way around the widest point).
- Subtract about 1/8 to 1/4 inch so the label edges don’t overlap.
- Measure the flat label area height the smooth space between the curve at the top and the bottom.
For boxes and flat surfaces:
- Measure the width and height of the panel you want to cover.
- Leave a small margin on each side so the label sits clean and centered.
For pouches and bags:
- Measure the printable front panel.
- Avoid seams and zippers, which cause bubbling.
Quick tip: Always order one or two sample labels before a full production run. A five-dollar test can save a five-hundred-dollar mistake.
Standard Label Sizes vs. Custom Dimensions
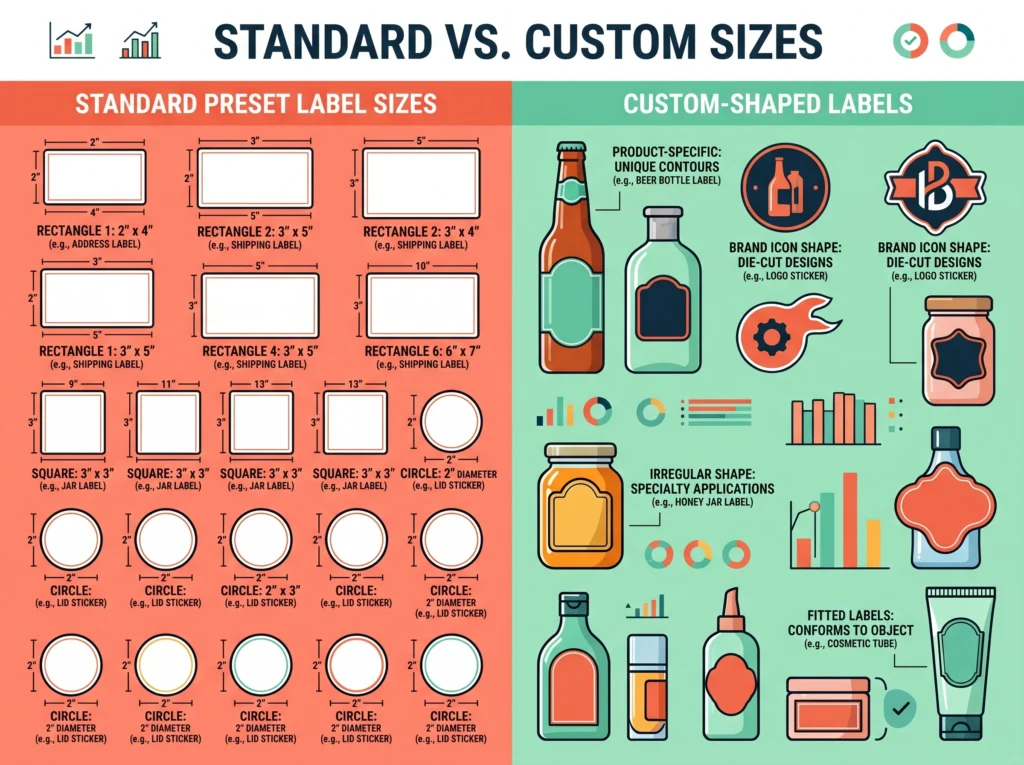
Here’s a handy reference table to help you start in the right ballpark before fine-tuning a custom size.
| Container Type | Common Size / Volume | Recommended Label Dimension (W × H) | Best Label Shape |
|---|---|---|---|
| Water / beverage bottle | 16 oz | 8″ × 4″ | Rectangle (wrap) |
| Boston round bottle | 4 oz | 2.5″ × 2″ | Rectangle / oval |
| Cosmetic jar | 2 oz | 2.25″ × 1.25″ | Oval / circle |
| Candle jar | 8 oz | 3″ × 2.5″ | Rectangle / square |
| Spice jar | 4 oz | 1.75″ × 2.5″ | Rectangle |
| Standard mailer box | Small | 3″ × 2″ or 4″ × 3″ | Rectangle / square |
| Stand-up pouch | Medium | 4″ × 5″ | Rectangle |
These are starting points. Your final custom dimension should be confirmed with a physical measurement and a test fit.
Understanding Bleed, Margin, and Safe Zone
These three terms trip up a lot of first-time buyers, so let’s keep it easy.
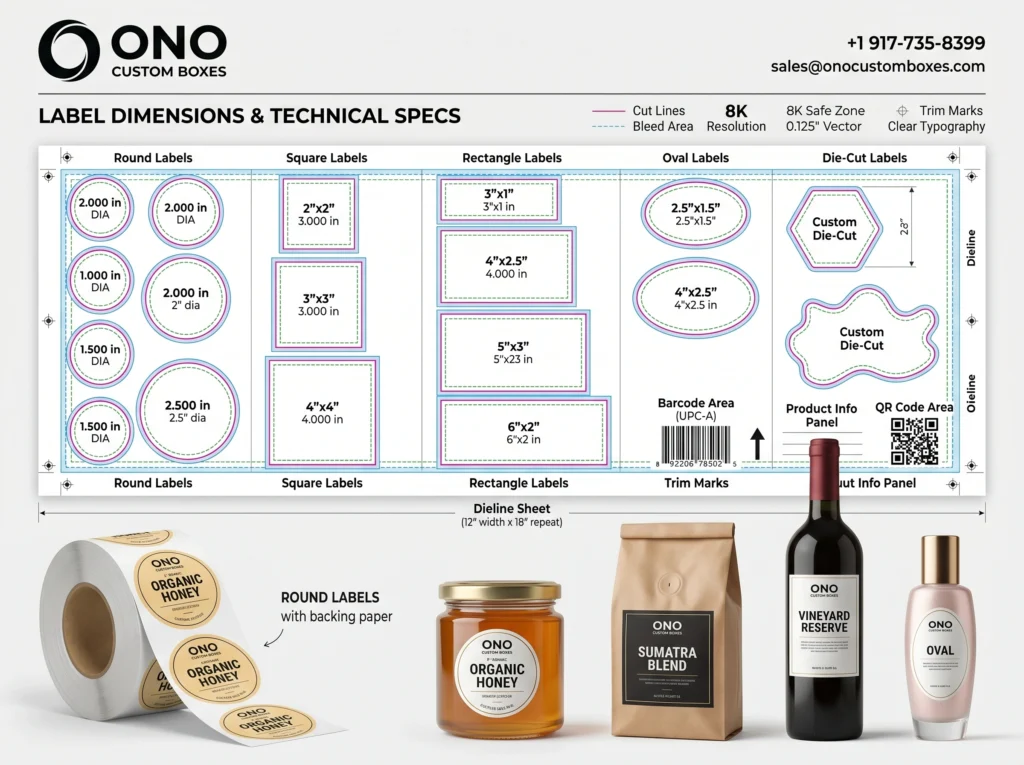
- Bleed is a small extra strip of background (usually 1/8 inch) that extends past the cut line. It makes sure there are no white edges if the cut shifts slightly.
- Safe zone is the inner area where your important stuff text, logo, barcode should stay. Keep it about 1/8 inch inside the edge.
- Margin is the breathing room between your design and the label’s border.
When you set up your file, your artwork dimensions will be slightly larger than your final label size because of the bleed. That’s normal and expected.
Also Read: Shipping Box Packaging Dimensions: The Simple Guide to Getting Every Size Right
Setting Up Your Artwork File Correctly
A great design can still print badly if the file is wrong. Keep these basics in mind:
- Use 300 DPI resolution or higher for crisp printing.
- Set your file to the correct units (inches or millimeters) from the start.
- Save in a print-ready format like PDF, AI, or high-resolution PNG.
- Convert text to outlines so fonts don’t shift.
- Use CMYK color mode, not RGB, for accurate printed colors.
If you’re unsure, most label printers including ONO Custom Boxes offer free templates that already include bleed and safe-zone guides. Start with one of those and you’ll skip most common errors.
Choosing the Right Material and Finish for Your Size
Size and material go hand in hand. Small labels on tightly curved surfaces need flexible materials so they don’t lift or crease. Larger flat labels have more freedom.
Popular options include:
- Matte for a soft, premium feel.
- Gloss for bright, eye-catching color.
- Waterproof / BOPP for bottles, cosmetics, and anything that gets wet.
- Kraft paper for a natural, eco-friendly look.
Always check that your chosen material wraps cleanly at your chosen dimension.
Common Mistakes to Avoid
- Designing the label before measuring the container.
- Forgetting to add bleed.
- Placing text or barcodes too close to the edge.
- Ignoring the curve on round containers.
- Skipping the sample order.
Avoid these five and you’re already ahead of most first-time buyers.
Frequently Asked Questions
What is the standard size for product labels?
There’s no single standard, since it depends on your container. Common sizes range from 2″ × 1″ for small jars up to 8″ × 4″ for large bottles. The best size is always the one measured to fit your specific packaging.
How do I measure my container for the right label dimensions?
Measure the circumference for round items and the flat panel for boxes, then subtract a small amount for margins. Wrapping a strip of paper around your container and trimming it to fit is a great low-tech test.
Can I order a fully custom label dimension or only preset sizes?
Yes, you can order fully custom dimensions. Custom sizing lets you match your exact packaging instead of forcing your design into a preset that doesn’t quite fit.
What file format and resolution should I use?
Use a print-ready PDF or AI file at 300 DPI in CMYK color mode for the best results.
Does label size affect the price?
It can. Larger labels use more material, and very small or unusual shapes may cost slightly more to cut. Asking for a quote on your exact dimension is the easiest way to know.
How much margin should I leave around my design?
Leave roughly 1/8 inch of safe zone inside the edge and add 1/8 inch of bleed outside the cut line.
Final Thoughts
Custom label dimensions don’t have to be confusing. When you measure carefully, set up your file with proper bleed and safe zones, and test a sample before the full run, you set your product up to look amazing on the shelf. Take it one step at a time, and you’ll get a label that fits perfectly and represents your brand with pride.