
Ordering custom condom boxes and got the size wrong? You are not alone. Wrong packaging dimensions are the number one reason boxes come back too tight, too loose, or too costly to ship. The good news? Measuring a box the right way takes less than five minutes once you know the simple rule.
This guide shows you exactly how to measure condom box packaging dimensions step by step. You will also get a standard condom box size chart, learn the difference between inner and outer dimensions, and pick up smart tips that packaging pros use every day.
Let’s get started.
Quick Answer
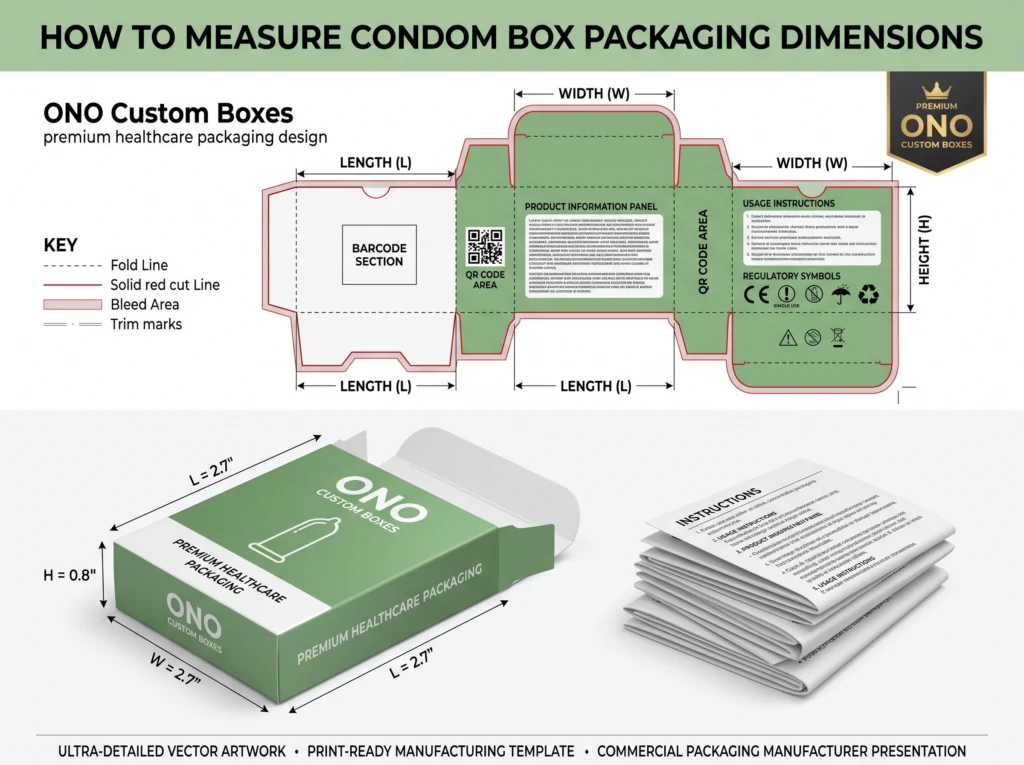
To measure condom box packaging dimensions, use this order: Length × Width × Height (L × W × H). Measure the assembled box from outside edge to outside edge. Length is the longest side of the opening, width is the shorter side of the opening, and height (or depth) is the distance from the opening to the base. Always record both inner dimensions (for product fit) and outer dimensions (for shipping).
That’s the short version. Keep reading for the full steps, size charts, and mistakes to avoid.
Why Measuring Your Condom Box Correctly Matters
Small boxes carry big consequences. Here is what accurate measuring protects you from:
- Product damage: A loose box lets foil wrappers slide and crush.
- Wasted money: Oversized boxes raise dimensional weight (DIM weight) shipping costs.
- Printing errors: A wrong dieline means reprints and delays.
- Retail rejection: Stores follow strict planogram and shelf-space rules.
- Label problems: FDA labeling and CE marking info must fit on the panels.
Getting the numbers right the first time saves time, money, and stress.
What You Need Before You Start
Grab these simple tools:
- A ruler or measuring tape (with mm and inches)
- A caliper (optional, for cardstock thickness)
- The product itself your condom foil wrappers
- A notepad or phone to record numbers
Also Read: How Many Condoms Come in a Box? Pack Sizes, Prices & Value Explained
How to Measure Condom Box Packaging Dimensions: 5 Easy Steps
Step 1: Assemble the Box First
Always measure the finished, folded box not the flat sheet. The flat size (also called the dieline size) is different from the assembled size. Printers need the dieline; you need the assembled numbers to check product fit.
Step 2: Measure the Length
Place the box on a table with the opening facing you. The length is the longest side of the opening. Measure from outside edge to outside edge.
Step 3: Measure the Width
The width is the shorter side of the same opening. Again, measure edge to edge on the outside.
Step 4: Measure the Height (Depth)
The height sometimes called depth runs from the opening down to the base of the box. This tells you how deep your product sits inside.
Step 5: Record Inner and Outer Dimensions
Here is the pro move most people skip:
- Outer dimensions = for shipping, shelf space, and displays
- Inner dimensions = outer size minus the material thickness (caliper) of the paperboard
For a standard SBS cardstock box, subtract about 1–2 mm per wall. This small step is what keeps your product from getting stuck or rattling around.
Standard Condom Box Size Chart
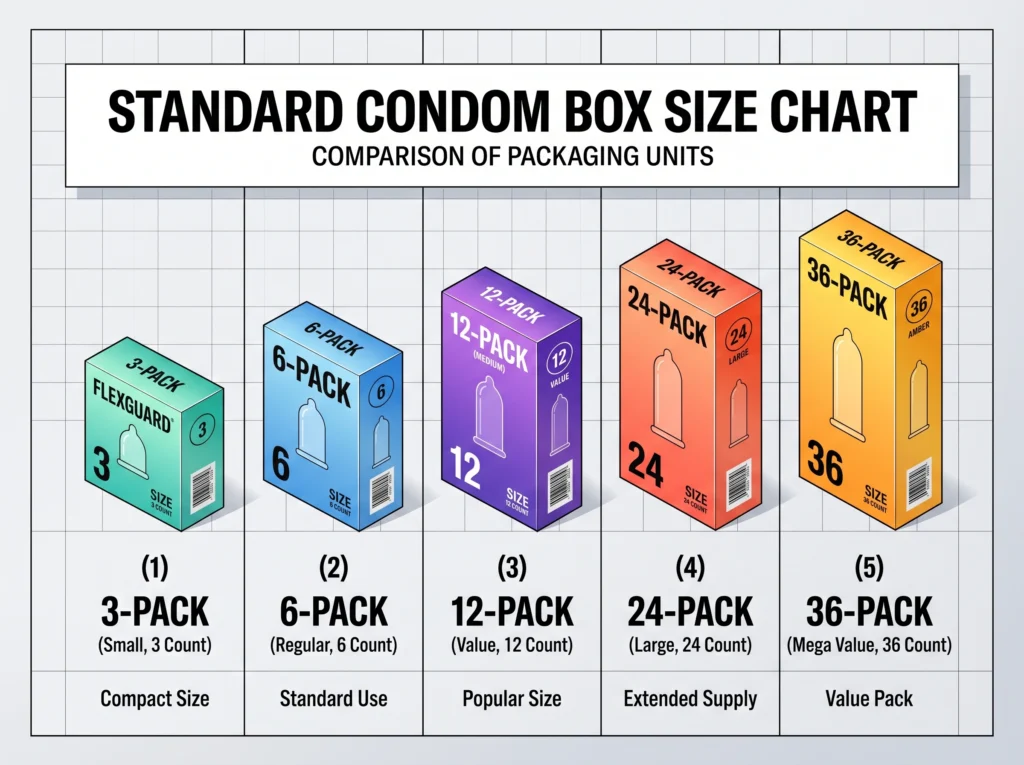
Use this chart as a smart starting point. Sizes vary by brand and box style, so always confirm with your supplier.
| Pack Count | Typical Box Size (L × W × H) | In Millimeters | Common Box Style |
|---|---|---|---|
| 3-pack | 2.2″ × 0.9″ × 3.0″ | 56 × 23 × 76 mm | Straight tuck-end |
| 10-pack | 2.6″ × 1.4″ × 3.5″ | 66 × 36 × 89 mm | Reverse tuck-end |
| 12-pack | 2.8″ × 1.5″ × 3.7″ | 71 × 38 × 94 mm | Tuck-end carton |
| 24-pack | 3.5″ × 2.0″ × 4.3″ | 89 × 51 × 109 mm | Drawer / sleeve box |
| 36-pack | 4.0″ × 2.5″ × 4.7″ | 102 × 64 × 119 mm | Display box |
Tip: A single foil wrapper is usually about 2.2″ × 2.2″ (56 × 56 mm). Stack your wrappers, measure the pile, then add 2–3 mm of product clearance on each side.
Inner vs. Outer Dimensions: The Difference Explained
This is where most sizing mistakes happen, so let’s make it crystal clear.
| Feature | Inner Dimensions | Outer Dimensions |
|---|---|---|
| What it measures | Space inside the box | Full outside size |
| Used for | Product fit | Shipping, shelves, displays |
| Affected by | Cardstock caliper / GSM | Box style and flaps |
| Who needs it | You (product fit) | Carriers and retailers |
Simple rule: Design from the inside out. Start with your product size, add clearance, then add material thickness to get the outer size.
Choosing the Right Box Style
Your box style changes how you measure and how the package performs:
- Straight tuck-end: Both flaps tuck the same direction. Clean look for retail display.
- Reverse tuck-end: Flaps tuck opposite ways. Budget-friendly and popular for 3-pack condom boxes.
- Sleeve box: A tray slides into a sleeve. Great for a premium unboxing experience.
- Display box: Holds many units for counter sales. Needs extra height for the header panel.
- Hang-tab box: Add about 25 mm of height for the hang hole used on retail pegs.
Measuring for Printing: Dieline Basics
When you send specs to a packaging supplier, they will turn your dimensions into a dieline template the flat blueprint with fold lines, cut lines, and bleed areas. Here is what to share:
- Assembled outer dimensions (L × W × H)
- Box style (tuck-end, sleeve, etc.)
- Material choice (kraft paperboard, SBS cardstock, or corrugated)
- Units say clearly if you are using mm or inches (overseas printers usually work in mm)
Many suppliers, such as ONO Custom Boxes, offer free dieline templates and can double-check your measurements before printing, which is a smart safety net for first-time buyers.
5 Common Measuring Mistakes to Avoid
- Mixing up the order. Always L × W × H. Writing “3 × 2 × 4” without labels causes confusion.
- Measuring the flat sheet. The flat size is not the box size.
- Forgetting material thickness. Thick paperboard shrinks your inner space.
- Skipping tolerance. Add 2–3 mm of clearance so products slide in smoothly.
- Ignoring shipping math. Check DIM weight rules before you finalize outer dimensions a few millimeters can change your shipping rate.
Eco-Friendly and Trending Packaging Ideas
Sizing right also supports sustainable packaging. A snug box uses less material, ships lighter, and looks better on the shelf. Trending choices in the sexual wellness space include:
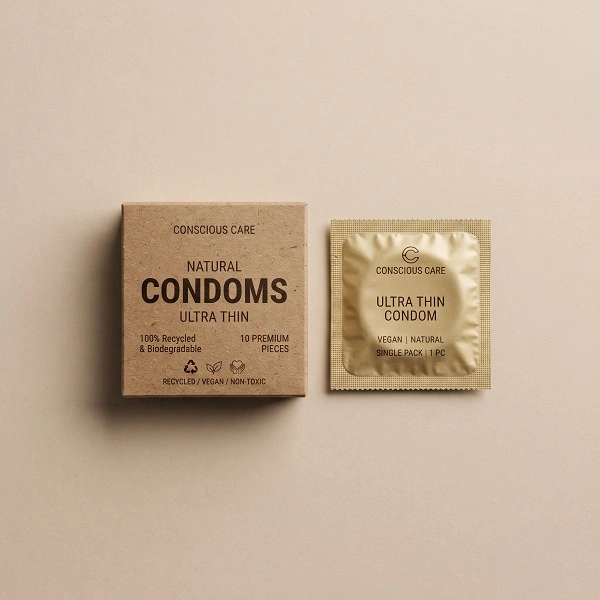
- Kraft condom boxes with soy-based inks
- Minimalist condom box design for DTC (direct-to-consumer) brands
- Discreet packaging for e-commerce orders
- Low MOQ custom boxes for startups testing new designs
- 3D box mockups to preview your design before printing
Frequently Asked Questions (FAQs)
What is the correct order to measure a box?
Always Length × Width × Height. Length is the longest side of the opening, width is the shorter side, and height is the depth from opening to base.
Do I measure the inside or outside of the packaging?
Both. Use outer dimensions for shipping and shelf space. Use inner dimensions to make sure your product fits with 2–3 mm of clearance.
What is the standard condom box size for a 12-pack?
A common 12-pack condom box measures about 2.8″ × 1.5″ × 3.7″ (71 × 38 × 94 mm), though exact sizes vary by wrapper stack height and box style.
What is a dieline?
A dieline is the flat template of your box showing all cut lines, fold lines, and bleed zones. Printers use it to cut and fold your design correctly.
How does cardstock thickness affect my box?
Every wall of the box “eats” inner space equal to its caliper (thickness). For standard SBS cardstock, subtract about 1–2 mm per wall from the outer size to find your true inner space.
How do I measure packaging for shipping costs?
Carriers use dimensional weight: multiply L × W × H (outer dimensions) and divide by the carrier’s DIM divisor. Smaller, snug boxes almost always ship cheaper.
What box style works well for retail hanging displays?
A tuck-end box with a hang tab works well. Add roughly 25 mm of extra height for the tab and hole.
Final Thoughts
Measuring condom box packaging dimensions is simple once you follow the rule: Length × Width × Height, outside edge to outside edge, on the assembled box. Record both inner and outer sizes, add a little clearance, and share clear specs with your printer.
Do this, and your custom packaging will fit right, ship light, and look sharp on any shelf the first time.